
Red velvet cake is more than just a dessert; it is a nostalgic treat that brings back memories of traditional baking. This vintage cake has a rich history, a distinct flavor, and a signature red hue that sets it apart. Over the years, it has remained a classic in bakeries and home kitchens alike. But what truly makes a cake “vintage”? In this article, we will explore the origins of red velvet cake, the essential ingredients, and the step-by-step process to create the perfect vintage version.

Table of Contents
The Origins of Red Velvet Cake
Red velvet cake has a fascinating history that dates back to the early 20th century. Although its exact origin remains debated, many believe it was first introduced in the United States during the Victorian era.
- The term “velvet cake” was used to describe cakes with a soft, delicate texture.
- The red color initially came from natural reactions between cocoa powder and acidic ingredients.
- The cake gained popularity when it was served in the Waldorf-Astoria Hotel in New York during the 1920s.
- In the mid-20th century, food coloring became widely used to enhance the red appearance.

Today, red velvet remains a symbol of nostalgia and is often associated with celebrations and special occasions.
What Makes a Cake “Vintage”?
A vintage cake is more than just an old recipe; it reflects traditional baking techniques and high-quality ingredients. Several characteristics define a vintage cake:
- Use of simple, natural ingredients: Unlike modern cakes with artificial preservatives, vintage cakes rely on fresh butter, eggs, and dairy.
- Hand-mixed batters: Traditional cakes were often made without electric mixers, resulting in a slightly different texture.
- Rich, deep flavors: The balance of cocoa, buttermilk, and vanilla in a red velvet cake creates a unique, smooth taste.
- Distinct textures: A classic red velvet cake is soft, moist, and velvety, which differentiates it from ordinary chocolate cakes.
By following these vintage baking principles, you can recreate an authentic red velvet cake with its original charm.
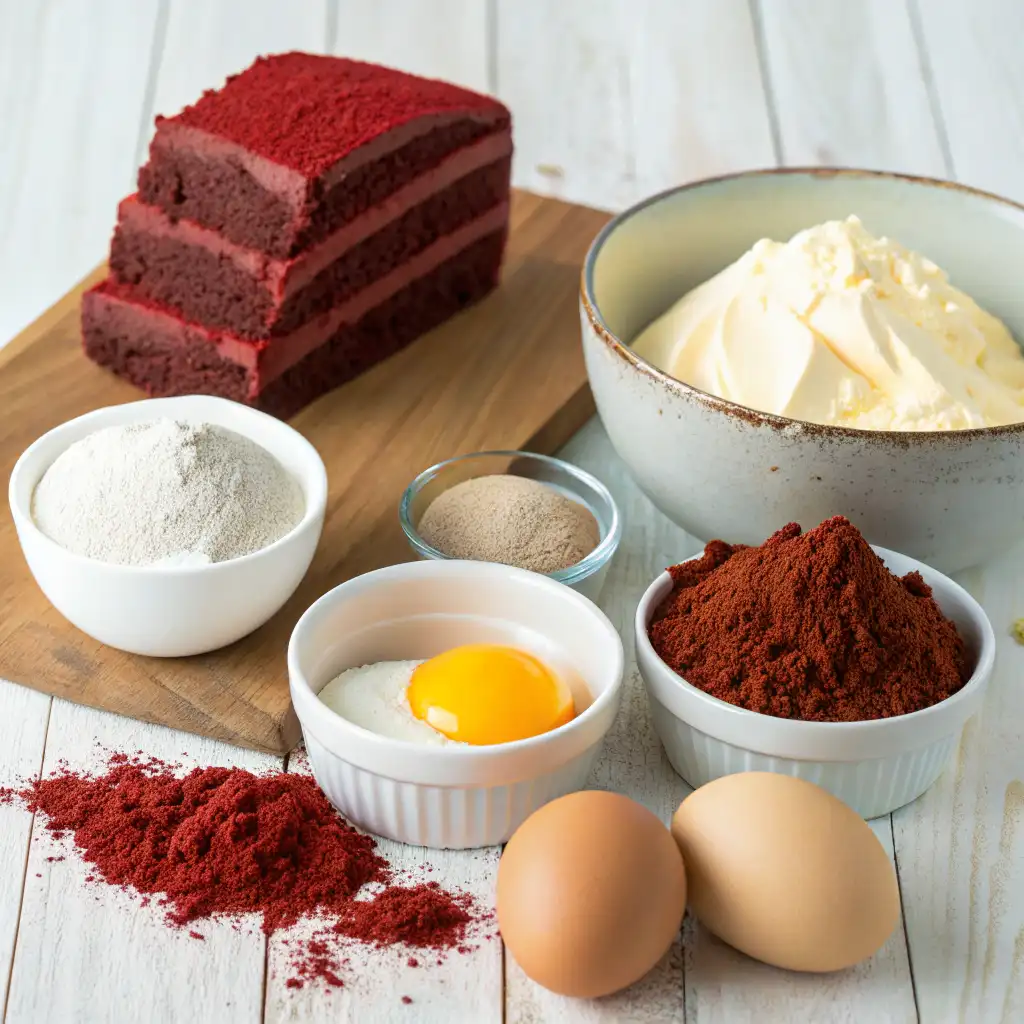
Key Ingredients for the Perfect Red Velvet Cake
To achieve the classic flavor and texture of a vintage cake, selecting the right ingredients is essential.
Choosing the Right Flour and Cocoa
Flour and cocoa are the foundation of a perfect red velvet cake. Choosing the right types will make a significant difference in the final texture.
- Cake flour vs. all-purpose flour: Cake flour is preferred because it has a lower protein content, resulting in a softer crumb.
- Unsweetened cocoa powder: Dutch-processed cocoa lacks acidity, so it is best to use natural cocoa powder to enhance the flavor and color reaction.
- Proper sifting: Sifting flour and cocoa together ensures a smooth, lump-free batter.
Ingredients:
- 225g (8 oz) cream cheese, softened
- 115g (1/2 cup) unsalted butter, softened
- 240g (2 cups) powdered sugar, sifted
- 1 tsp pure vanilla extract
- 1 tbsp heavy cream (optional, for smoother consistency)
Instructions:
- Beat the butter and cream cheese – In a large bowl, use an electric mixer to beat the softened butter and cream cheese until smooth and fluffy.
- Add vanilla extract – Mix in the vanilla extract to enhance the flavor.
- Gradually add powdered sugar – Slowly add the sifted powdered sugar, one cup at a time, while mixing on low speed. This prevents lumps and ensures a smooth texture.
- Adjust consistency – If the frosting is too thick, add one tablespoon of heavy cream to reach the desired consistency.
- Whip until fluffy – Increase the speed and whip for an additional 2-3 minutes until the frosting becomes light and airy.
The Secret to the Classic Red Hue
The vibrant red color of red velvet cake is one of its most recognizable features. Traditionally, this color came from natural ingredients.
- Cocoa and acid reaction: In early recipes, the red hue formed due to a reaction between cocoa and acidic components like buttermilk and vinegar.
- Beet juice: Some bakers used beet juice to enhance the color naturally.
- Food coloring: Today, liquid or gel food coloring is commonly used for a more vivid red.
- Balanced acidity: The combination of buttermilk and vinegar helps intensify the red shade while contributing to the signature taste.
Step-by-Step Recipe for the Best Vintage Red Velvet Cake
Creating a vintage cake requires precision and patience. Follow this step-by-step guide for a perfect red velvet cake that stays true to its origins.
Preparing the Cake Batter
The first step to making a red velvet cake is preparing a well-balanced batter.
- Preheat the oven: Set your oven to 175°C (350°F) and prepare cake pans by greasing them lightly and lining with parchment paper.
- Sift dry ingredients: In a bowl, sift together 2 ½ cups of cake flour, 2 tablespoons of cocoa powder, 1 teaspoon of baking soda, and ½ teaspoon of salt.
- Cream butter and sugar: Using a hand whisk or mixer, beat ½ cup of unsalted butter with 1 ¾ cups of granulated sugar until light and fluffy.
- Add eggs: Incorporate two large eggs one at a time, beating well after each addition.
- Mix wet ingredients: In a separate bowl, whisk together 1 cup of buttermilk, 1 teaspoon of vanilla extract, 1 teaspoon of white vinegar, and 1 tablespoon of red food coloring.
- Combine wet and dry ingredients: Gradually add the flour mixture to the wet ingredients, alternating with buttermilk, until a smooth batter forms.
- Do not overmix: Overmixing can result in a dense cake. Stir just until combined.

By following these steps carefully, you will create a red velvet cake with a classic vintage texture and flavor.
The Perfect Cream Cheese Frosting
A vintage cake is not complete without a luscious layer of cream cheese frosting. This rich, tangy topping enhances the flavors and adds a smooth, creamy texture. Follow this step-by-step guide to create the perfect frosting for your classic dessert.
FAQS
What are some old fashioned cakes?
Ranked: the best retro cakes of all time
1French apple cake. …
2Chocolate Swiss roll. …
3Madeira cake. …
4The original “one bowl” chocolate cake. …
5Battenberg cake. …
6Vanilla-bean teacake with cinnamon sugar. …
7Choc-banana butterfly cake. …
8Coffee walnut cake
What is a minimalist cake?
Smooth Buttercream or Fondant –
Neutral or Pastel Colors – Soft,
Minimal Decorations – Small
Focus on Flavor – Since the design
Modern and Sophisticated Vibe– Often
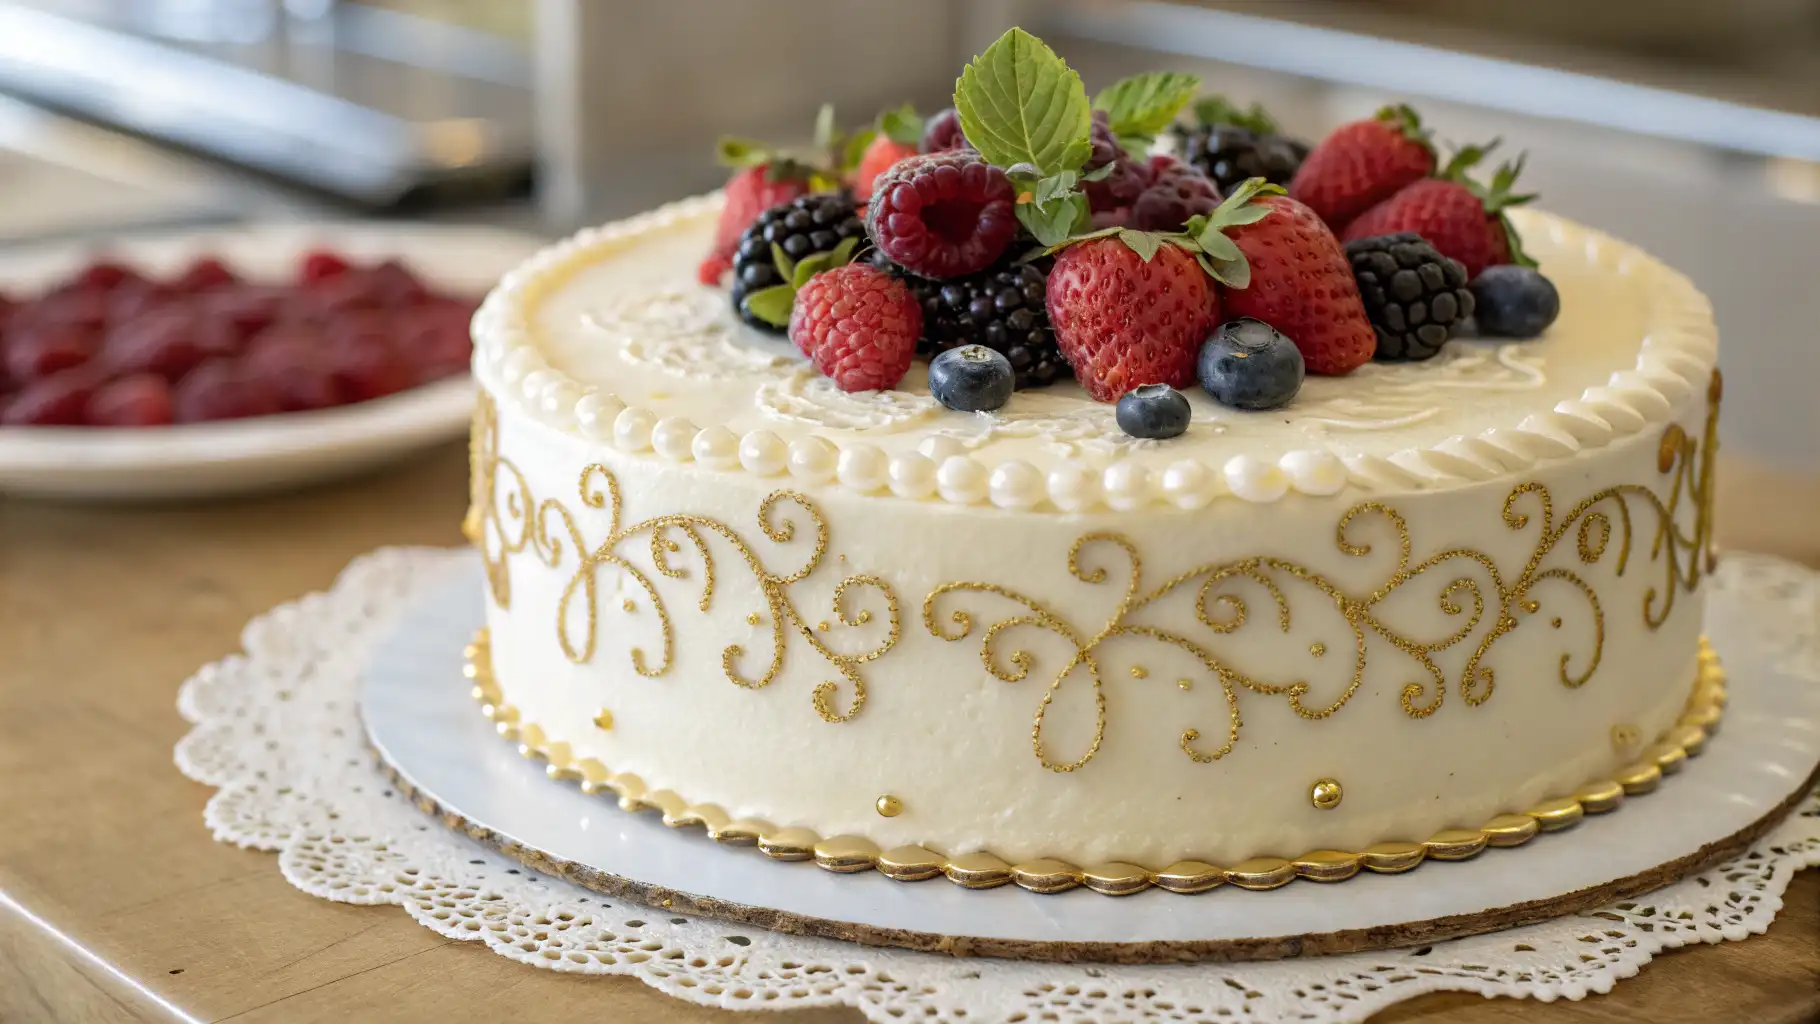
Why Are Vintage Cakes So Popular?
Vintage cakes are popular because they bring back memories, look beautiful, and taste amazing. Here’s why people love them:
Nostalgia – These cakes remind people of family traditions and childhood treats.
Beautiful Designs – Vintage cakes have elegant decorations, making them perfect for special occasions.
Rich Flavors – They use classic ingredients like butter, vanilla, and spices for a deep, delicious taste.
Easy to Make – Many recipes are simple and don’t need fancy tools.
Trendy on Social Media – People love sharing pictures of vintage-style cakes, bringing them back into fashion.
Conclusion
Mastering the perfect cream cheese frosting is essential for any vintage cake. By using high-quality ingredients, following the correct techniques, and avoiding common mistakes, you can achieve a smooth, rich, and flavorful frosting.
Whether paired with a classic red velvet, carrot, or spice cake, this frosting enhances the texture and taste, making your dessert truly special. Serve it with coffee, tea, or milk, and garnish it with nuts or fresh fruit to impress your guests.
With this guide, you can confidently create a timeless treat that brings nostalgia and indulgence to every bite. Enjoy your homemade vintage cake with the perfect cream cheese frosting!

vintage cakes
Ingredients
- 2 ½ cups all-purpose flour
- 1 cup granulated sugar
- ½ cup brown sugar
- 1 cup unsalted butter softened
- 1 cup whole milk
- 3 large eggs
- 2 tsp baking powder
- ½ tsp baking soda
- 1 tsp vanilla extract
- ½ tsp salt
- 1 tsp cinnamon optional, for added warmth
Instructions
- Preheat the Oven: Set your oven to 350°F (175°C). Grease and flour two 9-inch round cake pans.
- Mix Dry Ingredients: In a bowl, whisk together the flour, baking powder, baking soda, salt, and cinnamon.
- Cream Butter and Sugar: In a separate bowl, beat the butter, granulated sugar, and brown sugar until light and fluffy.
- Add Eggs and Vanilla: Beat in eggs one at a time, followed by the vanilla extract.
- Incorporate Dry and Wet Ingredients: Alternately add the dry mixture and milk, starting and ending with the dry ingredients. Mix until just combined.
- Bake the Cake: Divide the batter evenly between the prepared pans. Bake for 35-40 minutes or until a toothpick inserted in the center comes out clean.
- Cool the Cake: Let the cakes cool in the pans for 10 minutes, then transfer to a wire rack to cool completely.
- Decorate and Serve: Frost with cream cheese frosting or buttercream for a classic vintage look.
Notes
- Use Room Temperature Ingredients: For the best texture, ensure that the butter, eggs, and milk are at room temperature before mixing.
- Do Not Overmix: Overmixing the batter can make the cake dense instead of light and fluffy. Mix until just combined.
- Test for Doneness: Insert a toothpick into the center of the cake—if it comes out clean, the cake is ready.
- Cooling is Important: Allow the cakes to cool completely before frosting to prevent the frosting from melting.
- Customize the Flavor: Add a teaspoon of almond extract or a pinch of nutmeg for extra depth of flavor.
- Best Storage Practices: Store the cake in an airtight container at room temperature for up to 2 days or refrigerate for up to a week.
- Make Ahead: The cake layers can be baked a day in advance and wrapped in plastic wrap to keep them moist.
- Freezing Tip: The cake can be frozen for up to 3 months. Wrap each layer tightly in plastic wrap and place them in a freezer-safe bag. Thaw at room temperature before serving.
4 thoughts on “Vintage Cake Cream Cheese Frosting: Perfect Step-by-Step Guide”