
Graduation is a major milestone, marking years of hard work and dedication. Whether it’s high school, college, or even kindergarten, celebrating with a cake is a tradition that adds sweetness to the occasion. A beautifully decorated graduation cake serves as the centerpiece of the celebration, bringing together family, friends, and classmates to honor the graduate’s achievements.
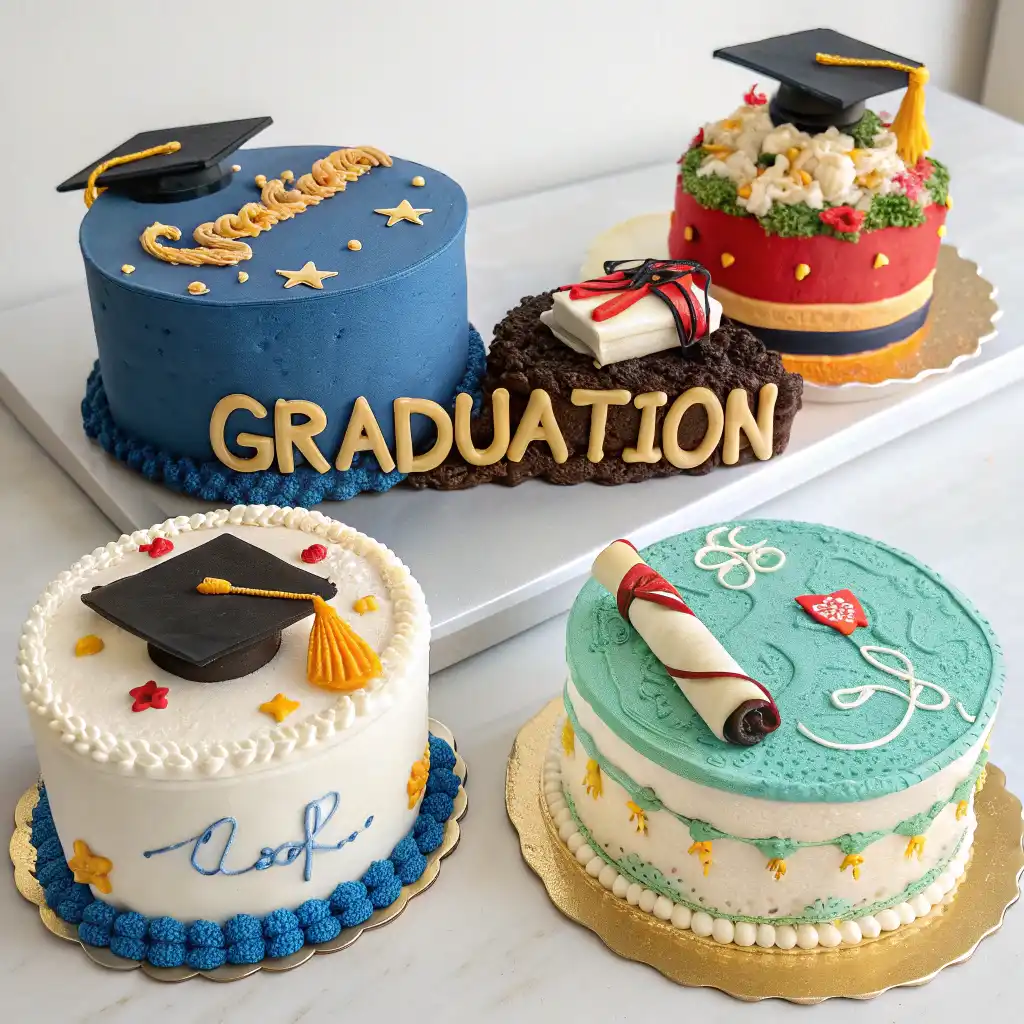
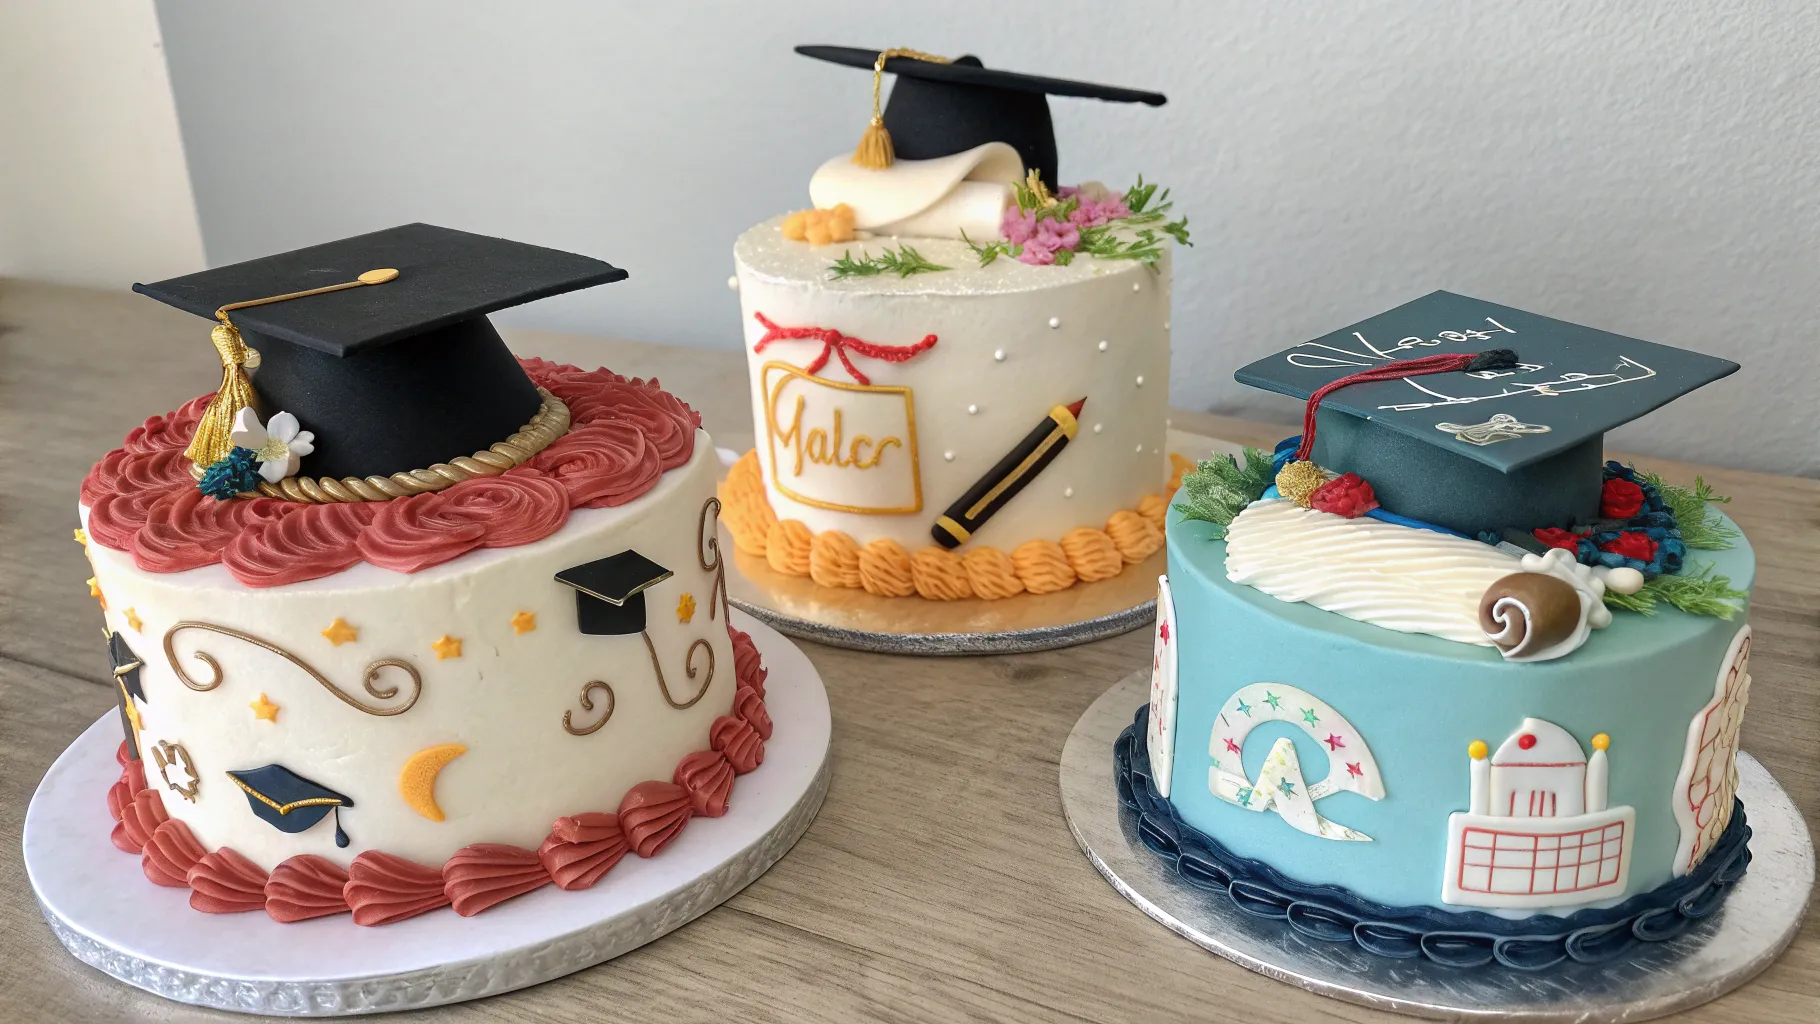
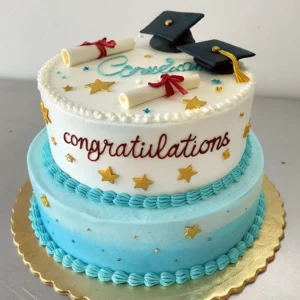
From classic sheet cakes with personalized messages to elaborate tiered cakes featuring school colors, there are endless ways to design the perfect graduation cake. Some prefer a simple yet elegant design, while others opt for creative decorations like diploma scrolls, edible graduation caps, or photo-printed frosting. No matter the style, a well-made graduation cake should be delicious, visually appealing, and memorable.
Table of Contents
Key Benefits of a Graduation Cake
A graduation cake is more than just a dessert—it’s a symbol of achievement, celebration, and shared joy. Whether homemade or custom-ordered, a well-crafted graduation cake offers several benefits that make the occasion even more special.
1. A Meaningful Symbol of Success
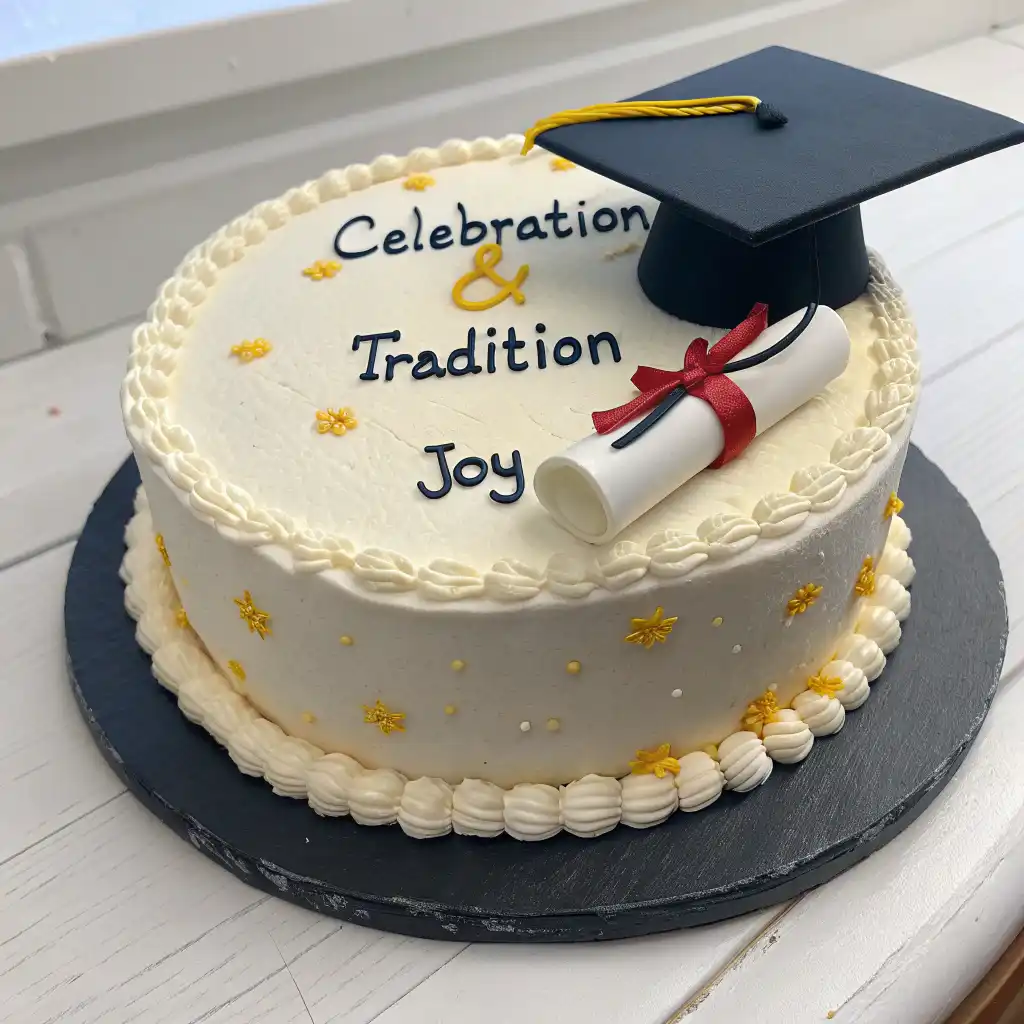
Graduation represents hard work, perseverance, and success. A beautifully decorated cake honors the graduate’s journey, featuring elements like a graduation cap topper, diploma scrolls, or school colors. This special dessert reflects pride and accomplishment, making it a heartfelt addition to the celebration.
2. A Personalized Touch
One of the best things about a graduation cake is the ability to customize it. From the graduate’s name and school logo to favorite flavors and colors, the cake can be tailored to reflect their personality and achievements. A photo cake with edible images or a fondant design inspired by their field of study adds an extra personal touch.
3. Brings Everyone Together
A cake is a centerpiece that brings family and friends together. Whether it’s a small gathering or a big party, cutting the graduation cake is a memorable moment shared with loved ones. It creates a sense of unity and celebration, making the event even more meaningful.
4. A Delicious Way to Celebrate
Beyond its symbolism, a graduation cake is a delicious treat for guests. From classic vanilla and rich chocolate to red velvet, lemon, or mocha, there’s a flavor for everyone. You can choose between buttercream, fondant, or whipped cream frosting to match the theme and taste preferences.
5. Perfect for Social Media & Memories
A well-decorated cake isn’t just enjoyed at the party—it’s also a great photo opportunity. A stylish, creative design makes for Instagram-worthy moments, adding excitement to the event. Guests love taking pictures of the cake-cutting ceremony, making it a lasting memory.
6. Flexibility in Design & Budget
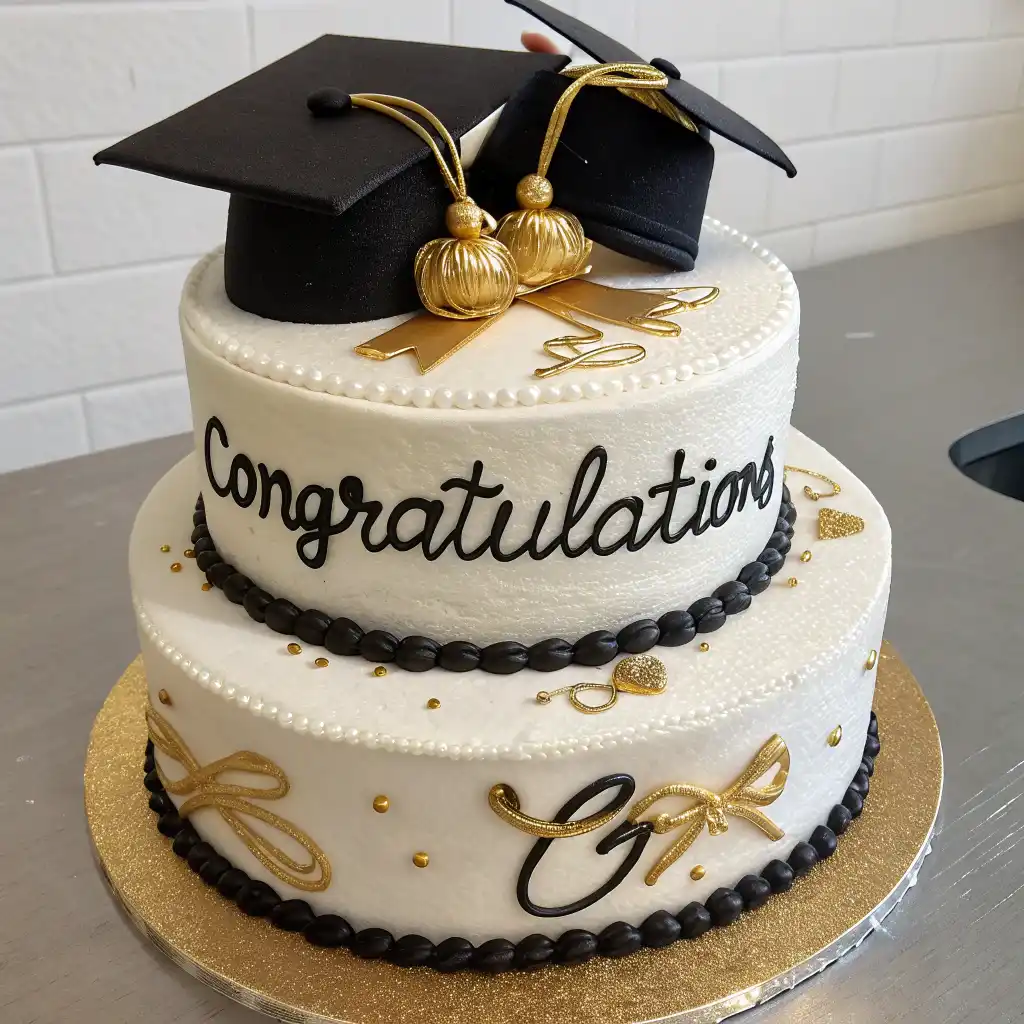
Graduation cakes come in all sizes, shapes, and price ranges. Whether you opt for a simple sheet cake with a congratulatory message or an elaborate multi-tiered cake with intricate decorations, you can find an option that fits your budget and needs. DIY graduation cakes can be a cost-effective yet stunning alternative to store-bought ones.
7. A Fun DIY Baking Project
For those who enjoy baking, making a graduation cake from scratch is a fun and rewarding experience. It allows you to get creative with decorations, experiment with flavors, and add a homemade touch. Plus, it’s a great way to involve family members or kids in the kitchen for a shared experience.
Ingredients for the Perfect Graduation Cake
To make a delicious and visually stunning graduation cake, you need the right combination of ingredients. Below is a classic recipe for a moist, flavorful cake that can be decorated to fit the graduation theme.
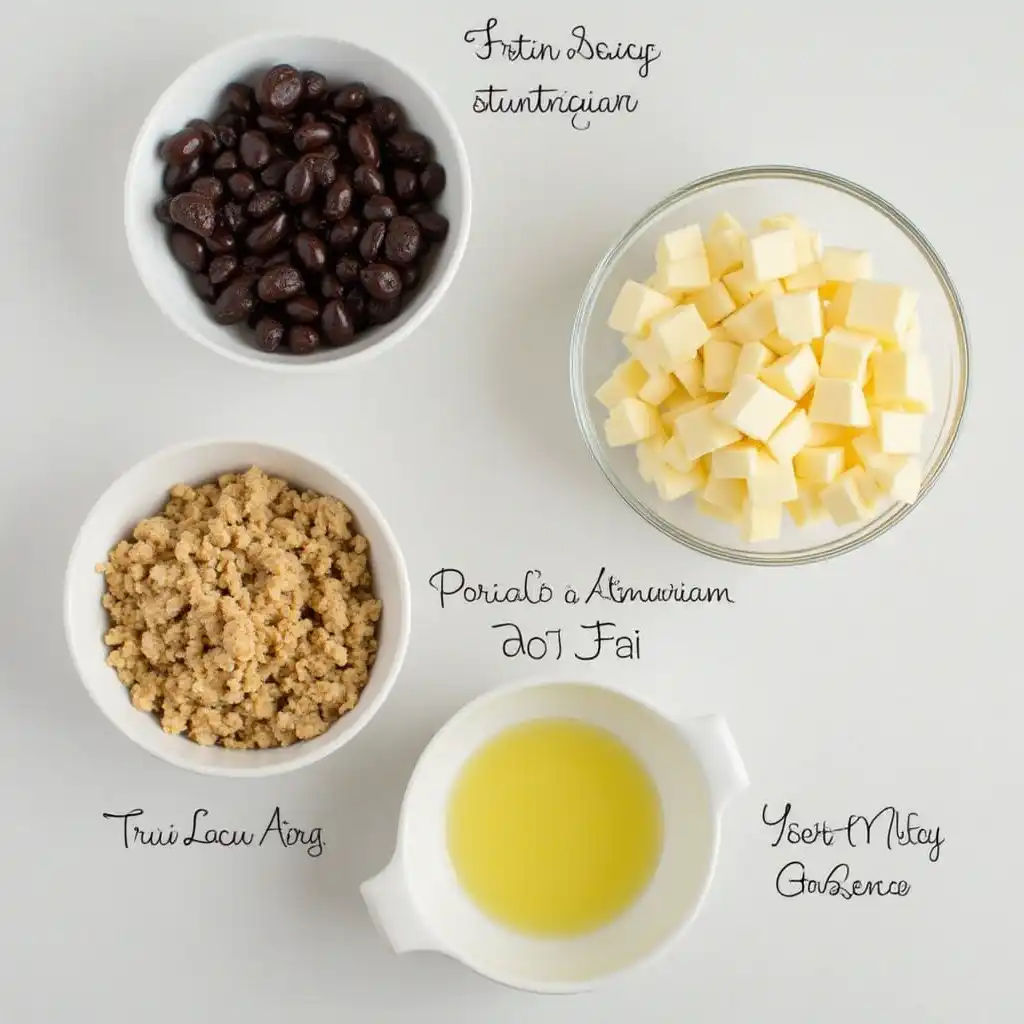
1. Cake Base Ingredients
You can choose between a classic vanilla cake, rich chocolate cake, or any flavor you prefer. Here’s a versatile base recipe that works well for any graduation cake design:
For a 2-Layer 9-Inch Cake:
Dry Ingredients:
- 3 cups all-purpose flour (or cake flour for a lighter texture)
- 2 ½ teaspoons baking powder
- ½ teaspoon baking soda
- ½ teaspoon salt
Wet Ingredients:
- 1 cup unsalted butter (room temperature)
- 2 cups granulated sugar
- 4 large eggs
- 1 tablespoon pure vanilla extract
- 1 cup buttermilk (for extra moisture)
- ½ cup vegetable oil (adds softness)
For Chocolate Cake Variation:
- Replace ½ cup of flour with ½ cup unsweetened cocoa powder
- Add 1 teaspoon espresso powder (enhances chocolate flavor)
For a Red Velvet Variation:
- Add 2 tablespoons cocoa powder
- Mix in 1 teaspoon white vinegar + 1 teaspoon red gel food coloring
2. Frosting & Filling Options
The right frosting enhances both the flavor and decoration of your graduation cake. Here are some popular choices:
Buttercream Frosting (Classic & Easy to Decorate)
- 1 cup unsalted butter (room temperature)
- 4 cups powdered sugar
- 2 teaspoons vanilla extract
- 3–4 tablespoons heavy cream or milk
- A pinch of salt
Instructions:
- Beat the butter until smooth and creamy.
- Gradually add powdered sugar and mix until fluffy.
- Add vanilla extract and cream, then beat for another 2–3 minutes.
Cream Cheese Frosting (Great for Red Velvet & Chocolate Cakes)
- ½ cup unsalted butter
- 8 oz cream cheese
- 4 cups powdered sugar
- 1 teaspoon vanilla extract
Tip: This frosting is softer, so keep the cake refrigerated until serving!
Whipped Cream Frosting (Light & Airy Option)
- 2 cups heavy whipping cream
- ¼ cup powdered sugar
- 1 teaspoon vanilla extract
Instructions:
Whip everything together until stiff peaks form. Best for naked cakes or light decorations.
3. Decoration Essentials
Once the cake is baked and frosted, the graduation decorations bring it to life!
Edible Decorations:
- Graduation cap toppers (made of fondant or chocolate)
- Diploma-shaped fondant rolls
- School colors (colored frosting, sprinkles, or edible glitter)
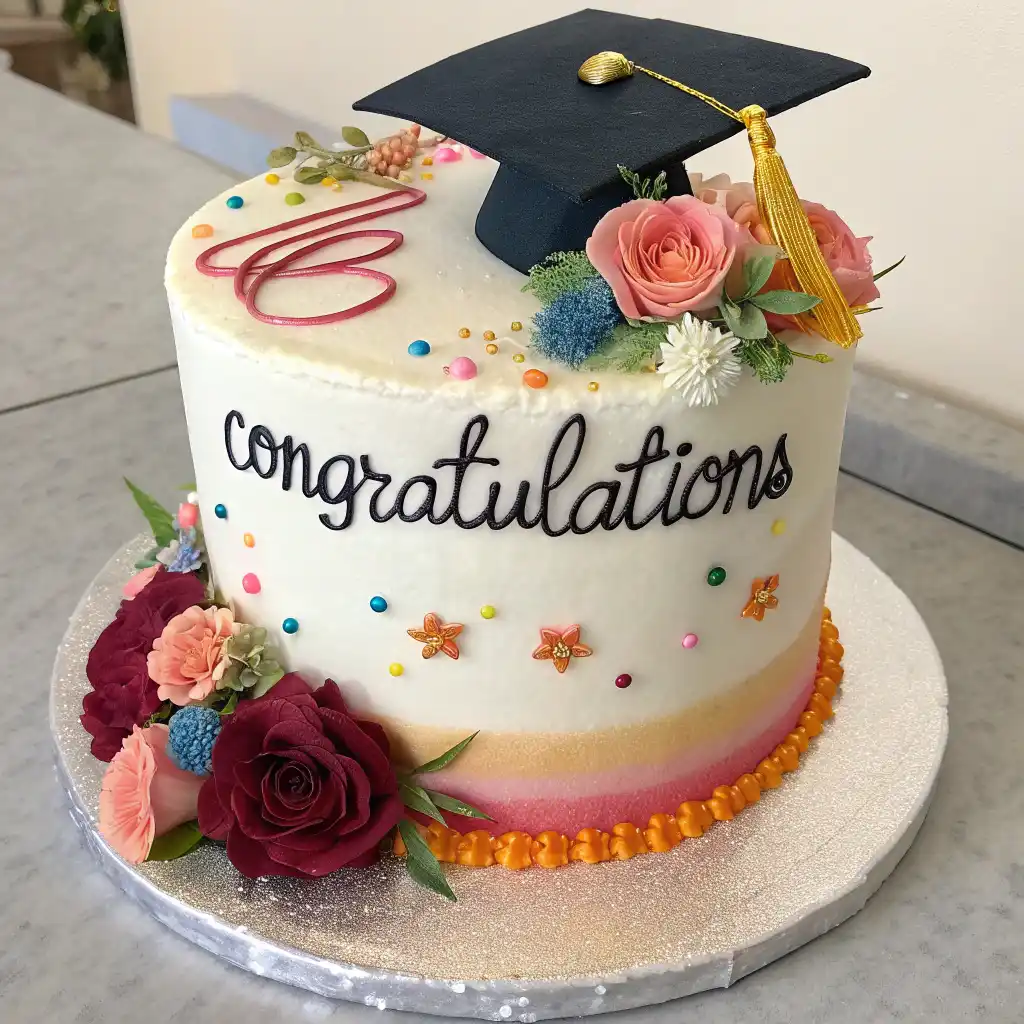
- Piped “Congratulations” message

Additional Toppings:
- Fresh berries or fruit slices
- Chocolate shavings or curls
- Edible gold or silver sprinkles
With the ingredients ready, it’s time to start baking! In the next section, we’ll walk through the step-by-step instructions to make your graduation cake perfectly moist and delicious.
Instructions for Making the Perfect Graduation Cake
Now that you have your ingredients ready, let’s walk through the step-by-step process for creating a delicious and visually appealing graduation cake. Follow these easy instructions, and you’ll have a show-stopping dessert to celebrate the occasion!
Step 1: Preheat the Oven and Prepare the Pans
- Preheat your oven to 350°F (175°C).
- Grease two 9-inch round cake pans with butter or non-stick spray and line the bottom with parchment paper for easy removal. Alternatively, you can dust the pans with flour if you prefer. This ensures your cake won’t stick and will come out perfectly!
Step 2: Mix the Dry Ingredients
In a large bowl, combine the dry ingredients:
- 3 cups all-purpose flour
- 2 ½ teaspoons baking powder
- ½ teaspoon baking soda
- ½ teaspoon salt
Whisk these ingredients together to make sure they are well-mixed and evenly distributed. This will ensure a uniform texture throughout the cake.
Step 3: Cream the Butter and Sugar
In a separate large bowl, beat the butter and sugar until light and fluffy using an electric mixer or stand mixer. This process usually takes about 3-5 minutes. The butter should be at room temperature, which will help create a smooth, creamy mixture.
Step 4: Add the Wet Ingredients
Once the butter and sugar are well-combined, add the following wet ingredients, one at a time:
- 4 large eggs (one at a time, mixing well after each addition)
- 1 tablespoon vanilla extract
Mix until the batter is smooth and the ingredients are fully incorporated.
Step 5: Alternate Adding Dry Ingredients and Buttermilk
Now, gradually add the dry ingredients and buttermilk to the wet mixture. Start by adding 1/3 of the dry mixture, followed by half of the buttermilk. Continue alternating, ending with the dry ingredients. Mix until just combined, being careful not to overmix. Overmixing can result in a dense cake, so aim for a smooth batter without lumps.
Tip: If you’re making a chocolate or red velvet cake, be sure to follow the specific substitutions mentioned in the ingredients section (adding cocoa powder or red food coloring).
Step 6: Pour the Batter into the Pans
Divide the batter evenly between the two prepared cake pans. Use a spatula to smooth the tops so they bake evenly. Tap the pans gently on the countertop to release any air bubbles that might have formed in the batter.
Step 7: Bake the Cakes
Place the pans in the preheated oven and bake for about 25-30 minutes, or until a toothpick inserted into the center of the cakes comes out clean. Baking times can vary depending on your oven and cake pan size, so be sure to check after 25 minutes.
Once baked, remove the cakes from the oven and allow them to cool in the pans for about 10 minutes. Then, gently remove the cakes from the pans and transfer them to a wire rack to cool completely. Cooling is important, as frosting a hot cake can cause the frosting to melt and slide off.
Step 8: Prepare the Frosting
While your cakes are cooling, you can prepare the frosting of your choice. Whether you’re using buttercream, cream cheese frosting, or whipped cream, make sure to whip the frosting until it’s smooth and creamy. If you plan to pipe decorations, make sure the frosting is at the right consistency—thick but not too stiff.
Tip: If using fondant for decorations, roll it out thinly and use cookie cutters or templates to create the shapes you need. For more intricate designs like graduation caps or diplomas, consider using edible food markers or gel food coloring.
Step 9: Frost and Decorate
Once the cakes have cooled, it’s time to assemble and decorate your graduation cake:
- Level the Cakes: Use a serrated knife to level the tops of your cakes if they have domed during baking. This will ensure they stack neatly and evenly.
- Add a Layer of Frosting: Place one cake layer on a serving platter or cake board. Spread a generous amount of frosting over the top, smoothing it out with a spatula.
- Place the Second Layer: Gently add the second cake layer on top of the first, pressing lightly to ensure it sticks.
- Frost the Entire Cake: Cover the top and sides of the cake with your frosting. Use a bench scraper or offset spatula for smooth, even layers.
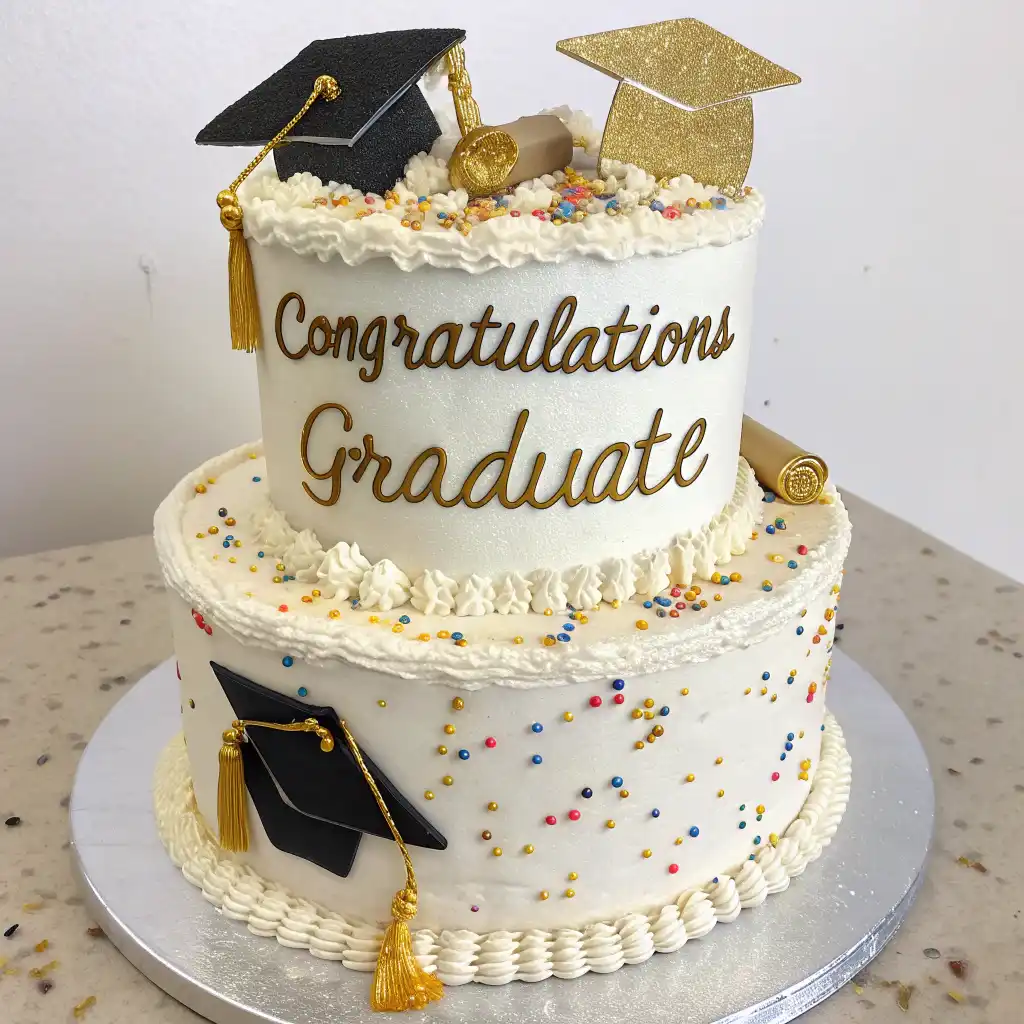
- Add Decorations: Now comes the fun part! Decorate with your graduation-themed decorations—edible caps, diplomas, or even a custom message like “Congratulations [Name]!”
For an extra touch, you can add edible glitter, sprinkles, or fresh flowers to complete the look.
Step 10: Serve & Enjoy
Once decorated, your graduation cake is ready to be served! Slice and enjoy the celebration with friends and family. Don’t forget to take plenty of photos to capture the moment!
Pro Tips and Variations for the Perfect Graduation Cake
While the basic recipe for a graduation cake is simple, there are many ways to customize and enhance the cake to make it uniquely yours. Whether you want to adjust the flavor, try a different decoration style, or make your cake a bit more creative, here are some pro tips and variations to help you take your graduation cake to the next level.
Pro Tips for a Flawless Graduation Cake
1. Bake in Advance
If you’re short on time, you can bake your cake a day or two in advance. Just make sure to wrap each cake layer tightly in plastic wrap once cooled and store them at room temperature or in the fridge. When you’re ready to frost and decorate, the cake layers will be perfectly moist and easier to handle.
2. Use a Cake Turntable
For a smooth, even layer of frosting, a cake turntable is an invaluable tool. It allows you to easily rotate the cake as you apply frosting, helping you achieve a more professional finish. If you don’t have a turntable, you can also use a rotating cake stand or an upside-down bowl as a substitute.
3. Chilling the Cake Helps with Decorating
After you’ve frosted your cake, chill it for 15–30 minutes in the fridge before adding any final decorations. This helps set the frosting, ensuring that it won’t smudge when you apply additional details like fondant or piped decorations.
4. Use Piping Gel for Fine Details
For intricate decorations such as written messages or small edible embellishments, piping gel is a great tool. It’s clear, sticky, and holds decorations in place without making the design look messy. You can also use it to add a glossy finish to your cake.
5. Level the Cake Layers Properly
If your cake layers have domed during baking, don’t skip leveling them. Not only does this create a more professional look, but it also ensures that the layers stack evenly, preventing the cake from toppling over when decorated or served.
6. Keep the Cake Cool for Better Results
If you’re using fondant, be sure to keep the cake refrigerated until it’s time to serve. Fondant can soften at room temperature, so it’s best to store the cake in the fridge until the big moment. Just allow the cake to sit at room temperature for 10–15 minutes before cutting.
Cake Variations for a Custom Graduation Cake
1. Flavor Variations
While vanilla and chocolate are classic cake flavors, feel free to mix things up with other options! Some fun and festive graduation cake flavors include:
- Lemon Cake with lemon curd filling for a tangy, refreshing flavor
- Carrot Cake with cream cheese frosting for a rich, spiced treat
- Red Velvet Cake for a dramatic look with its striking color and creamy texture
- Funfetti Cake for a cheerful, confetti-filled cake that adds a festive touch
2. Fillings and Frostings
Changing up the filling and frosting can add layers of flavor and texture to your graduation cake. Here are some options to experiment with:
- Chocolate Ganache: A rich, glossy filling that pairs well with both chocolate and vanilla cakes
- Fruit Filling: Strawberry, raspberry, or lemon curd can add a burst of fresh, fruity flavor
- Buttercream Flavors: Add extracts like almond, coconut, or hazelnut to your buttercream for a twist on the classic
- Whipped Cream: For a lighter, fluffier alternative to buttercream, try using whipped cream frosting or mousse fillings
3. Decorations for a Creative Twist
While classic graduation cake decorations like caps and diplomas are always a hit, there are many creative ways to make your cake stand out:
- Graduation Photo Cake: Have a photo of the graduate printed on edible paper and placed on the top or sides of the cake
- School Spirit Theme: Use the school colors for a themed cake with frosting, sprinkles, and edible toppers in the graduate’s school logo
- Cap and Gown Cake: Decorate the cake to look like a graduation cap and gown, adding a playful touch to the theme
- Books and Pens: If the graduate is heading to college or a specific field of study, decorate the cake with books, pens, or academic symbols related to their future path
4. Gluten-Free or Dairy-Free Variations
If you have guests with dietary restrictions, don’t worry! It’s easy to make your graduation cake gluten-free or dairy-free without sacrificing flavor:
- Gluten-Free Flour: Replace all-purpose flour with a gluten-free flour blend. Be sure to follow the specific instructions for your blend.
- Dairy-Free Frosting: Use dairy-free margarine or coconut oil in place of butter and almond or coconut milk for a creamy, dairy-free frosting.
Serving Suggestions for Your Graduation Cake
Now that you’ve created the perfect graduation cake, it’s time to serve it up in style! Presentation is key when showcasing a cake that took so much effort and care to make. Here are some ideas and tips to ensure your cake is served beautifully and enjoyed by everyone at the celebration.
1. Presentation is Everything
While the cake itself is the star of the show, how you present it can elevate the entire experience. Here are a few presentation tips to make your cake shine:
- Use a Cake Stand: A cake stand adds height and a polished look to your dessert table. Consider a pedestal cake stand for an elegant, classic presentation.
- Add Edible Garnishes: Fresh berries, mint leaves, or edible flowers can add a pop of color and freshness to the cake. For an extra touch, you can sprinkle some edible gold dust on top to give it a little sparkle.
- Matching Serving Plates and Utensils: Coordinate your cake server and plates with the theme of the party. You can use graduation-themed plates or elegant white or gold utensils for a more sophisticated look.
2. Serve in Smaller Portions
A graduation cake can often be large, so consider cutting it into smaller, bite-sized pieces to make it easier for guests to enjoy. You can also use a cake slicer or serrated knife for even, clean slices. Here are some portioning suggestions:
- Traditional Slices: Slice the cake into 8-10 even pieces for a standard serving size.
- Mini Cake Slices: For more guests, consider cutting the cake into smaller pieces so everyone can enjoy a taste.
- Cupcake Version: If you’ve made cupcakes or mini cakes as part of your graduation cake celebration, they’re much easier to serve and portion.
3. Temperature is Key
How you serve the cake can affect its taste and texture, so always serve your cake at the right temperature:
- Room Temperature: Cakes with buttercream frosting should be served at room temperature to allow the frosting to stay firm but creamy. If your cake has been stored in the fridge, allow it to sit out for 20–30 minutes before serving.
- Cold Cakes for Fondant: Cakes with fondant decorations should be stored in the fridge, but served slightly chilled to prevent the fondant from becoming too soft or sticky.
4. Pair the Cake with Beverages
The right drink can complement your graduation cake and enhance the overall flavor experience. Here are some beverage ideas to pair with your cake:
- Coffee or Tea: A hot drink like coffee or tea pairs wonderfully with a sweet, buttery cake. Choose a bold coffee or a flavored tea like Earl Grey to balance the sweetness of the cake.
- Milk: For a classic and comforting pairing, serve the cake with a glass of milk—especially great with chocolate or vanilla cakes.
- Sparkling Beverages: For a festive touch, serve the cake with sparkling water or champagne to celebrate the occasion. A sparkling lemonade or fruit punch also adds a refreshing touch to the dessert table.
5. Store Leftovers Properly
You’ll likely have some leftovers after the party, and properly storing them will keep your cake fresh for days! Here’s how to store it:
- Room Temperature: If you plan to serve the cake within 2-3 days, it’s fine to leave it at room temperature in an airtight container.
- Refrigeration: For cakes with cream cheese frosting, whipped cream, or any other perishable filling, store them in the fridge. Make sure it’s in an airtight container or wrapped well with plastic wrap to prevent the cake from drying out.
- Freezing: If you have a lot of leftovers, you can freeze portions of the cake for up to 3 months. Wrap the cake in plastic wrap, then place it in a freezer-safe bag or container. Let it thaw in the fridge overnight before serving.
6. Add a Personal Touch to the Cake Cutting
The cake cutting is a fun and symbolic moment at any graduation party. To make it extra special:
- Create a “Cake Cutting Moment”: Have the graduate cut the cake as part of a ceremonial moment. You can even ask the guest of honor to hold up a graduation cap or give a small speech before cutting the first slice.
- Personalized Cake Topper: Add a custom topper with the graduate’s name, year, or school logo to make the cake even more personalized and memorable.
- Photo Opportunities: The cake cutting is a perfect photo op! Make sure to get some photos of the graduate cutting the cake or enjoying the first bite with family and friends.
By following these serving suggestions, you can make sure your graduation cake not only tastes amazing but is also beautifully presented and enjoyed by all. Whether you’re serving it in slices or as a mini cake, the key is to create an experience that matches the joy and excitement of this milestone celebration.
FAQs About Graduation Cakes
What Are Some Popular Graduation Cake Ideas?
There are countless creative ideas for graduation cakes, depending on the graduate’s personality and achievements. Some popular ideas include:
Graduation Cap Cake: A cake shaped like a traditional graduation cap is a classic choice. You can also use the top of the cake to resemble a cap with fondant or chocolate.
Diploma Cake: Create a rolled-up diploma using fondant and place it as a decoration on top of the cake. This adds a personal, academic touch.
School Colors and Themes: Decorate your cake with the school’s colors or a themed design based on the graduate’s major or future career. For example, use books, pencils, or a globe for a student pursuing education or international studies.
What Is the Significance of a Graduation Cake?
A graduation cake is a symbolic and celebratory part of marking an important academic milestone. It represents the achievement, hard work, and dedication that the graduate has put into their studies. Just as the ceremony itself celebrates the end of one chapter, the cake serves as a sweet and festive way to commemorate this accomplishment with friends and family.
How Long Do Celebration Cakes Last?
The shelf life of a graduation cake depends on the type of cake and frosting used:
Room Temperature: Cakes with buttercream frosting can stay fresh at room temperature for up to 2-3 days when stored in an airtight container.
Refrigeration: Cakes with cream cheese frosting or whipped cream should be refrigerated, and will last for 3-4 days.
Freezing: If you have leftover cake, you can store it in the freezer for up to 3 months. Be sure to wrap it tightly to prevent freezer burn.
How Much Cake Do I Need for a Graduation Party?
The amount of cake you’ll need depends on the number of guests and the size of the servings. Here’s a general guideline:
Standard cake: A 9-inch round cake typically serves 12-16 people.
Larger cake: For a larger crowd, you may want to go with a two-tier cake or several sheet cakes. A 12-inch cake can serve 20-25 people, and a two-tier cake can serve up to 50 people depending on its size.
Cupcakes: If you’re offering individual servings, cupcakes are a great choice. A batch of 24 cupcakes should be enough for a gathering of around 25-30 people.
Conclusion: Celebrate with a Delicious Graduation Cake
A graduation is a monumental occasion, and what better way to celebrate than with a delicious, personalized graduation cake? From the first bite to the last piece, your cake will be the centerpiece of the celebration, adding a sweet touch to this memorable day.
Creating the perfect graduation cake doesn’t have to be complicated—simple yet thoughtful designs, coupled with flavors that everyone will love, can make your cake the highlight of the event. With the tips, variations, and serving suggestions shared here, you now have all the tools you need to create a cake that’s both beautiful and delicious.
Whether you opt for a classic chocolate or vanilla cake or get creative with a custom flavor and decorations, your graduation cake will help make the occasion even more special. Plus, with a variety of cake and decoration styles to choose from, it’s easy to tailor the cake to match the graduate’s personality, school colors, or field of study.
So, roll up your sleeves, gather your ingredients, and get ready to bake a cake that’s as sweet as the graduate’s achievement
Graduation Cake
Ingredients
- 1 ½ cups all-purpose flour
- 1 cup sugar
- 2 large eggs
- ½ cup unsalted butter
- 1 teaspoon vanilla extract
- ½ cup milk
- 2 teaspoons baking powder
- Pinch of salt
- Buttercream Frosting
- Fondant for decorations
- Edible Flowers optional
Instructions
- Preheat the oven to 350°F (175°C) and grease your cake pan.
- In a bowl, whisk together the flour, baking powder, and salt.
- In a separate bowl, cream the butter and sugar until light and fluffy.
- Add eggs one at a time, followed by the vanilla extract. Mix until well combined.
- Gradually add the dry ingredients, alternating with milk, until the batter is smooth.
- Pour the batter into the cake pan and bake for 35-40 minutes. Test with a toothpick to ensure it’s done.
- Allow the cake to cool before frosting with buttercream.
- Decorate with fondant or edible flowers for a personalized touch.
Notes
- You can use any flavor of frosting you like—cream cheese or whipped cream also work well.
- Customize your decorations with the graduate’s school colors or theme.
- If you have leftover cake, store it in an airtight container for up to 3 days or freeze for later use.
1 thought on “Creative Graduation Cakes: Easy Ideas and Recipes”